User Administration
Managing Users
The management of users is of key importance when it comes to the control of all user access and to keep an auditable trail of “who did what”. This will help preserve the integrity of all the configuration and data in all the MeterManager applications.
User Group > Role > Permissions
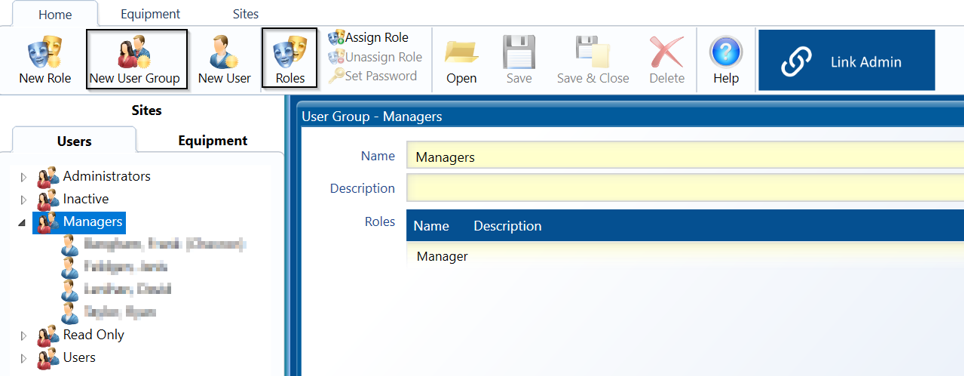
Each user group will have a role and each role will have certain permissions assigned to it. The users are listed under the different user groups and will share the same roles as the group they are associated with. The user groups can have more than one role assigned to them.
The default user groups are:
- Administrators
- Managers
- Read Only
- Users
The default roles are:
- Administrator
- Manager
- Reader
- User
- User Admin
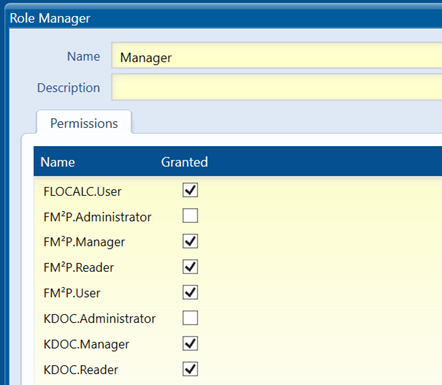
The permissions are ordered based on application and then by the default names:
- Administrator
- Manager
- Reader
- User
In general, we can summarize the four main permissions as having the following functions:
- Administrator = able to edit everything and perform any action
- Manager = able to edit parts of the application and perform actions
- User = able to perform actions but not edit anything
- Reader = able to view but not edit or perform actions (read only)
For more detailed analysis on what each permission allows you to do, see Permissions
There is also a permission called “User.Administrator” and this permission allows you to manage the users. Functions under this permission include changing a user’s password, adding a new user and so forth. The role “User Admin” will have this permission ticked as default and will be one of the default roles under the user group “Administrators”. It is advised that you do not assign this permission to any other role or user group for security reasons.
Making Changes
You can edit the default user groups and roles as per your organisational needs, however, it is advised that instead of editing them you either add a new user group or just edit the name of the user group; for example, changing “Users” to “Technicians”. You can also edit what permissions each role has by choosing what boxes are ticked/un-ticked.
Adding a new user group
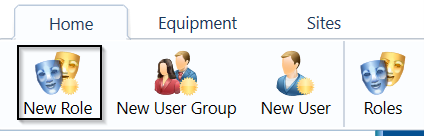
You can add your own user groups by clicking on the “New User Group” icon on the “Home” ribbon.

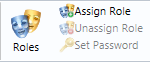
Once you edit the name of the group, you will need to assign role(s) to that group by clicking on “Assign Role” in the “Home” ribbon. You can set the group to have more than one role.
Adding a new user
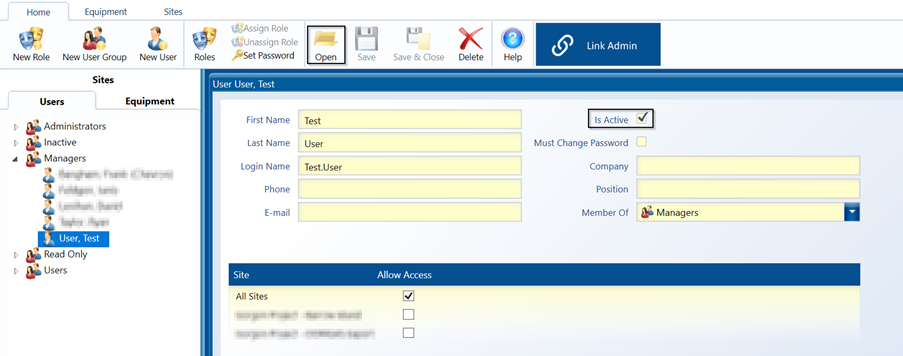
You can add a new User by clicking on “New User” in the “Home” ribbon and a form will appear for editing.

It will remind you to set a password for the user. You can prompt that user to change their password to something more personal once they first log in by selecting the “Must Change Password” box.

To set their password, click on the “Set Password” button in the “Home” ribbon.

It is advisable to include the company that person works for. This will appear in brackets next to that person’s name in the tree.
Once the user has been created click on “Save” to remain on the screen or “Save & Close” to return to the Users list.

Editing a user
The next time KMM loads, the User Groups will be organised in alphabetical order down the left hand panel.
A user can be edited by navigating to the user in the left-hand pane then selecting ‘Open’ from the ribbon.
Unchecking the ‘Is Active’ field will deactivate a user so that they can no longer log into KMM. The user account will be moved to the “Inactive” User Group.
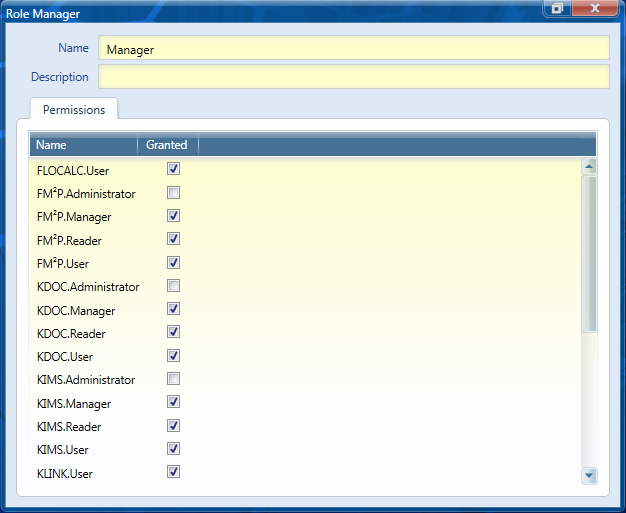
Adding a new role
Click on “New Role” from the home ribbon.
Type in the name and, if desired, the description of the role. Then individually select the desired permissions to grant.
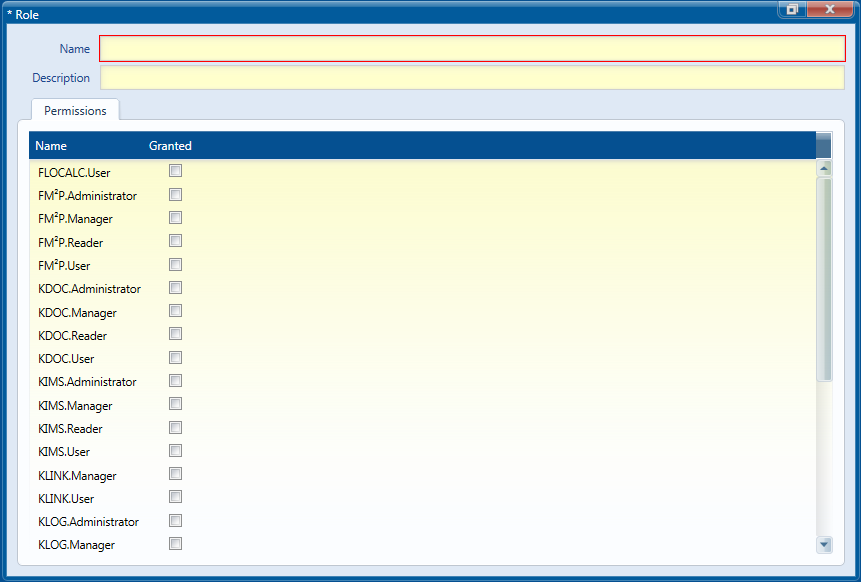
Click on ‘Save’ or ‘Save & Close’ from the ribbon.