Getting Started with Document Management
The Document Management Workspace
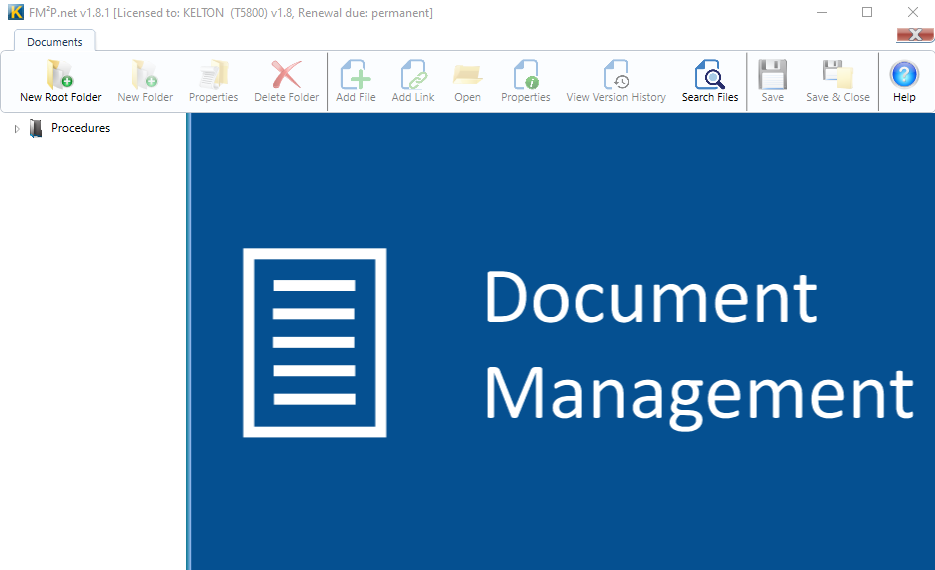
Document Management will open to show the main window from which all elements of the application can be accessed.

The Documents Ribbon
The Documents ribbon is the only ribbon available and will allow you to add or delete folders or files and search for files.

Adding Folders
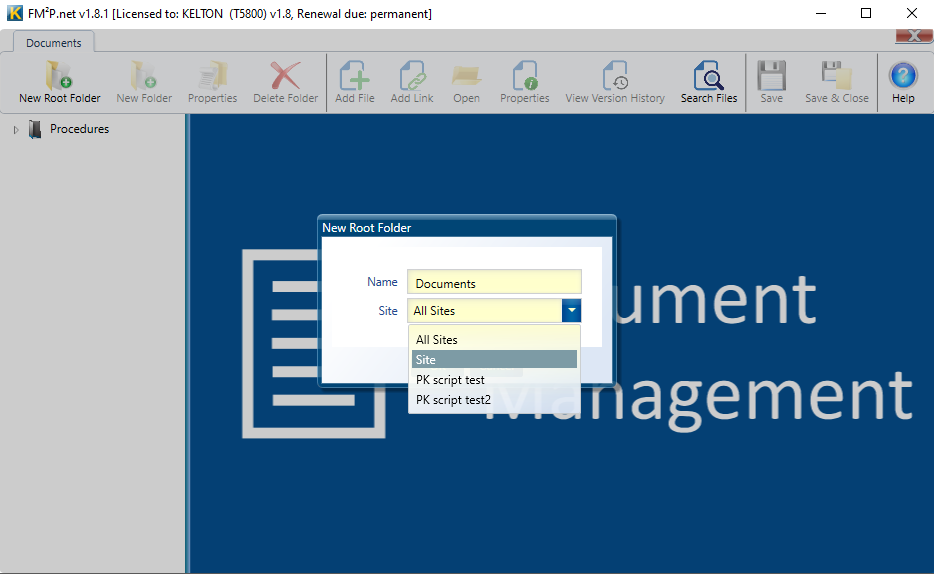
To add a main folder, click on “New Root Folder” in the Documents Ribbon.

You can choose from the drop down list what site you want to associate the folder with. If it applies to more than one site then you can choose “All Sites”.
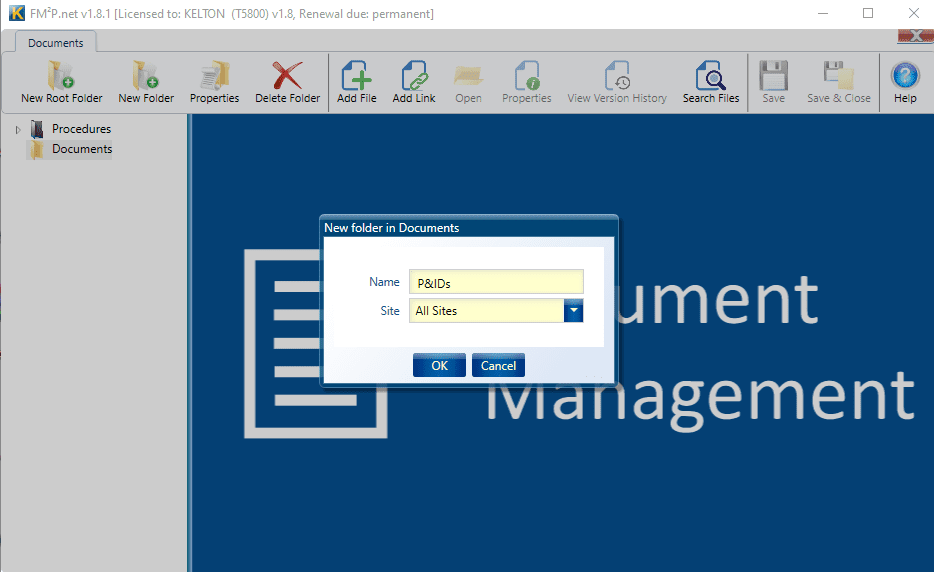
To add a sub folder, click on the main folder you want to add it to from the tree down the left hand side and then either right click and choose “Add Folder” or click on “New Folder” icon in ribbon.

Likewise, you can choose if it should be associated with a particular site or all sites.
Adding Files
You can add a file to either a main folder or a sub folder.
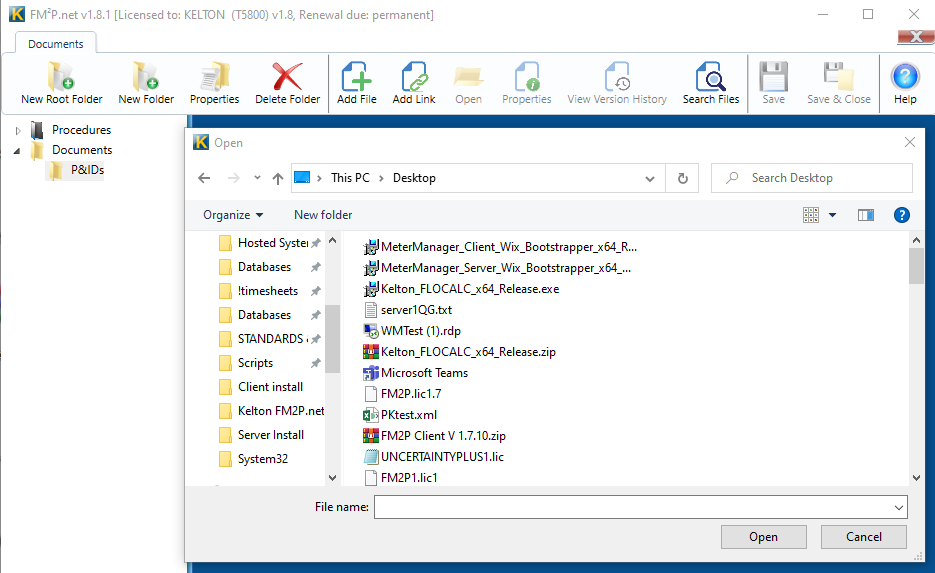
Click on the folder you want to add the file to from the left hand panel and then either right click and “Add File” or click on the “Add File” icon in the ribbon.

This will bring up a window that allows you to browse for the file you wish to add from your computer library.
Once you choose a file, it opens a form where you can add more info about the file before saving; such as giving it a description or associating it with a specific system, section or tag.
You can also choose to “Add Link” which is similar to add file except the document it points to has to be available in a public folder on all the computers that are using it. Also, it will automatically update when the file in the original location is updated which means you will lose auditability as there will not be a record of the version history. This is why it is recommended to update the version each time you update the document (as described in the next section of the help files).